

A laptop that won’t boot can be alarming, especially when important files, work documents, or personal photos are trapped inside. Whether it’s due to hardware failure, software corruption, or a recent update gone wrong, you still have a good chance to recover your data—if you act carefully and methodically.
Here’s what to do when your laptop won’t boot, along with practical data recovery options you can explore.
Step 1: Don’t Panic — and Don’t Keep Restarting
Repeated forced restarts or improper troubleshooting can worsen the issue or cause further data loss. Start by identifying the symptoms:
- Is the screen completely black?
- Does it show the manufacturer’s logo but not load Windows/macOS?
- Are there error messages (e.g., “No Boot Device Found,” “Operating System Not Found”)?
These clues help determine the best recovery path.
Step 2: Determine If It’s a Software or Hardware Issue
Signs of a Software Issue:
- Blue or black screen with error messages
- Spinning “loading” icon that never finishes
- Windows or macOS won’t load but BIOS/UEFI opens
Signs of a Hardware Issue:
- No lights or sounds at all
- Clicking noises (HDD failure)
- Overheating or abrupt power shutdowns
Understanding the cause helps choose the right data recovery method.
Step 3: Try Safe Mode or Recovery Mode (Software Issues)
Before removing the drive or using tools, try to boot into a limited recovery environment:
For Windows:
- Turn on your laptop and interrupt the startup (force shutdown) 3 times to trigger Automatic Repair.
- Choose Advanced Options > Startup Repair or Command Prompt.
- Use a bootable Windows USB to access System Restore or File Explorer to back up data.
For macOS:
- Hold Command + R during startup to enter macOS Recovery Mode.
- Use Disk Utility to repair the drive or Terminal to access files.
- You can also restore from a Time Machine backup, if available.
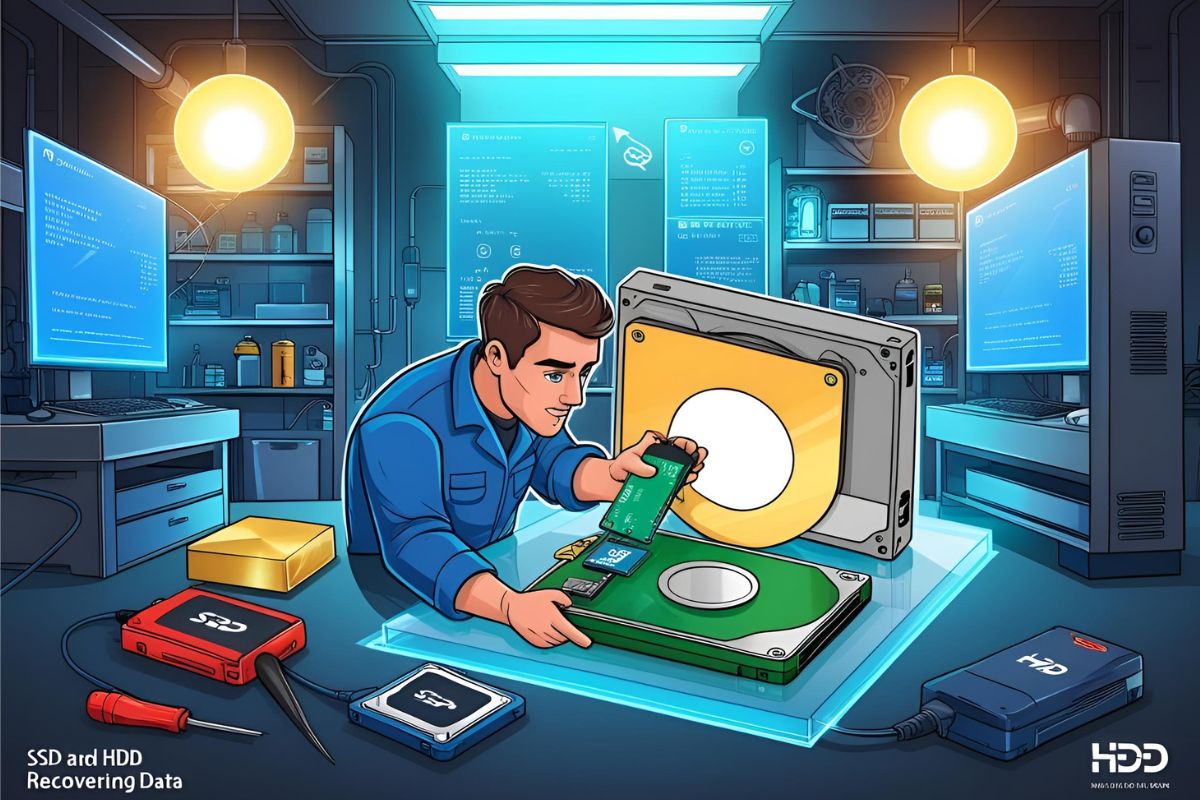
Step 4: Remove the Hard Drive or SSD and Use a Recovery Adapter
If the laptop still won’t boot, consider physically removing the internal drive:
What You Need:
- A SATA-to-USB adapter (for most 2.5” drives)
- An external enclosure (especially useful if you plan to keep using the drive externally)
Steps:
- Power off the laptop and remove the drive carefully.
- Connect it to a working computer using the adapter or enclosure.
- Access the drive like an external storage device.
- Copy and back up the important files.
✅ This method works best if the drive itself is still healthy.
Step 5: Use Data Recovery Software
If the drive is accessible but files are missing or corrupted:
Top Tools to Try:
- Windows: Recuva, EaseUS Data Recovery Wizard, Disk Drill
- Mac: Disk Drill for Mac, Stellar Data Recovery
- Linux-friendly options: TestDisk, PhotoRec
Note: Never install recovery software on the drive you’re trying to recover from—use a secondary machine.
Step 6: Call a Professional (Hardware Failures or Critical Data)
If:
- The drive is not recognized
- It makes clicking or grinding noises
- The computer won’t recognize the drive with an adapter
…it’s time for a professional data recovery service. These services use clean-room environments and specialized tools to recover data from physically damaged drives—but they can be expensive.
💡 Professional recovery can cost anywhere from $300 to $2000+ depending on severity and urgency.
Bonus Tip: Prevention for the Future
- Back up regularly: Use cloud services, external hard drives, or automatic backup software.
- Keep your OS and drivers updated, but avoid installing updates right before critical work.
- Use surge protectors to protect your laptop and drive from power issues.
Final Thoughts
A laptop that won’t boot doesn’t always mean your data is gone. By staying calm, assessing the issue, and using the right tools, you can often recover important files without permanent loss. However, if you suspect that the issue might be due to a larger security breach—like a ransomware attack or data corruption caused by malware—contacting an incident response company might be necessary. These experts can help analyze the situation, prevent further damage, and ensure that your data is safely recovered without compromising your security.
The best recovery strategy, however, remains consistent: back up regularly, so you never have to face this kind of panic again.